- Published 5 Mar 2024
- Last Modified 5 Mar 2024
- 6 min
Precision in Liquid Measurement: A Guide to Using Measuring Cylinders
Learn about the properties of glass & plastic measuring cylinders, accurate reading techniques, and best applications in scientific research.

With their ability to offer exact measurements, measuring cylinders are indispensable instruments for accurate liquid assessment in scientific research and education. In Singapore, measuring cylinders are commonly used in various laboratories, from calibrating chemical reactions in pharmaceutical labs to measuring saline concentrations in marine studies. Their crucial role in ensuring accuracy and reliability in these areas, among others, highlights their vitalness in laboratories across the nation.
This guide will delve into the various aspects of measuring cylinders. It covers everything from accurate reading techniques to choosing the right materials for your specific application, providing a thorough understanding of this precise measuring equipment.

The Material Science of Measuring Cylinders
The choice of material for measuring cylinders is crucial, affecting accuracy, durability, and suitability for various applications. Here are some of the common materials used:
Polypropylene (PP)
Polypropylene is a plastic valued for its durability and chemical resistance. These qualities make PP measuring cylinders exceptionally robust and, hence, a go-to for many laboratory environments. They are also a particularly suitable instrument for measuring and containing chemicals that are corrosive or reactive, such as strong acids like hydrochloric acid, and sulfuric acid and bases like sodium hydroxide. Due to PP's non-reactive nature, it does not degrade or react easily when exposed to these substances.
Polymethylpentene (PMP)
PMP, known for its transparency and high-temperature resistance, is another popular choice. These types of plastic measuring cylinders provide clear visibility without compromising on durability. While similar to glass in clarity, PMP measuring cylinders are lighter in weight and tougher, making them the more practical choice for educational settings. Moreover, PMP measuring cylinders also stand up well to repeated sterilisation processes, such as steam sterilisation at 121°C, without compromising accuracy, ensuring longevity even with frequent use.
Glass
Glass measuring cylinders offer the highest level of clarity and resistance to thermal shock, making them the best choice for work involving high temperatures or in analytical applications where precise visibility is crucial. They are often preferred for their classic appearance and the ease of cleaning. However, their fragility requires careful handling, especially in busy lab environments.
Scientific Applications of Measuring Cylinders
In both chemistry and biology laboratories, measuring cylinders stand alongside glass beakers as staple laboratory supplies. These instruments are commonly used for precise measurements in experiments, enabling accurate titrations and solution preparations.
For instance, in a chemistry lab, measuring cylinders are essential for accurately titrating solutions, a process crucial for determining the concentration of unknown substances in a reaction. This involves gradually adding a reactant to a solution until a specific chemical change, such as a colour change, indicates the reaction's completion. The ability of measuring cylinders to provide exact volume measurements enhances the reliability of these experiments. Such applications highlight their versatility and underscore the pivotal role they play in driving scientific research and experimentation.

Choosing the Right Measuring Cylinder for Your Needs
Selecting the right plastic or glass measuring cylinder involves several key considerations to ensure that it meets the specific requirements of your laboratory or application. Some of these include:
Material Properties
The material of the cylinder should be chosen based on the type of chemicals it will encounter. For instance, PP cylinders, known for their chemical resistance, are preferred in laboratories dealing with corrosive substances. Their resilience against deterioration ensures long-term reliability in such settings. Selecting the right material for a measuring cylinder is not just a matter of durability but also of safety and efficacy in specific laboratory conditions.
Volume Requirement
The capacity of a measuring cylinder is one of the first factors to consider, as measuring cylinders come in various capacities, ranging from a few millilitres to litres. The right choice depends on your liquid measurement needs and the required precision of measurement.
Measurement Precision
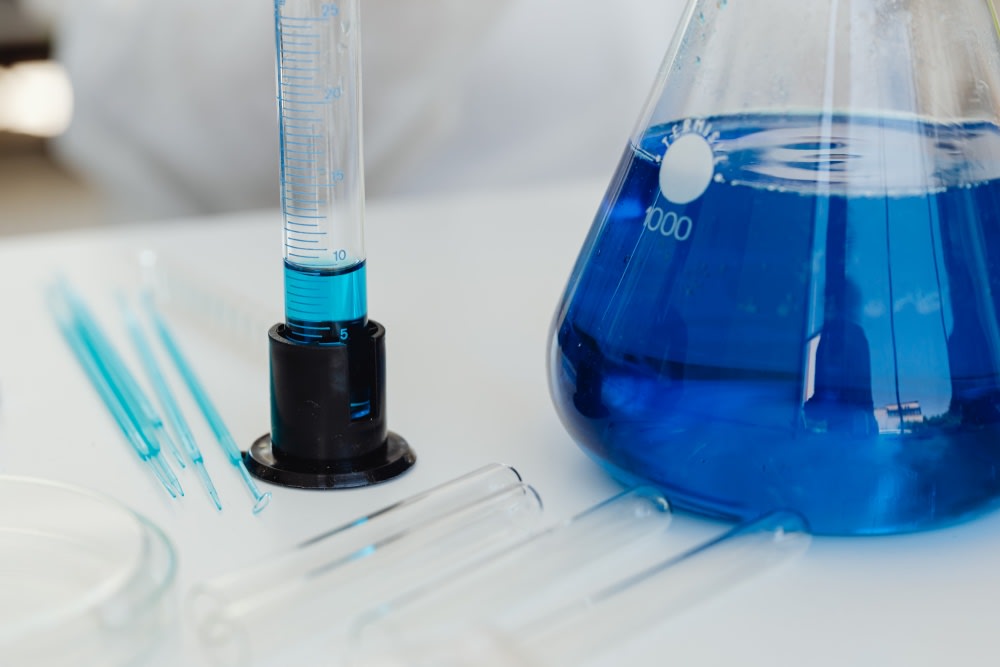
The precision of a measuring cylinder is determined by its graduations — the marked lines on the cylinder that indicate volume measurements. These graduations represent the volume units, and their spacing determines the level of measurement accuracy. Therefore, finer graduations allow for more precise measurements. In contrast, measuring cylinders with broader spaced graduations are sufficient for general-purpose measurements, where exact precision is less critical.
Reading and Interpreting Measurements Accurately
Knowing how to take accurate readings is critical when using graduated cylinders in the laboratory. Here's a step-by-step guide to ensure precision:
Step 1: Place the measuring cylinder on a stable, flat surface and ensure it's at eye level to prevent parallax errors.
Step 2: Ensure consistent lighting around the cylinder and identify the meniscus, which is the curved surface of the liquid inside the cylinder.
Step 3: Read the meniscus and note the value of the graduation.
Due to surface tension, liquids tend to curve at the edges when in a container. The meniscus can be concave (curving downward) or convex (curving upward), depending on the liquid. If a meniscus is concave, read the point on the graduated scale that coincides with the bottom of the curved surface (the lowest point). Conversely, with a convex meniscus, which is less common but can occur with certain liquids, you read the graduation at the top of the curve.
Just as precise usage of measuring instruments like pipettes is required, the accurate use of measuring cylinders is equally vital for reliable and exact results. But remember, accuracy isn't just about technique; it's also about the tool.
It is best to select measuring cylinders with high-contrast graduations for easy visibility. This is especially important when measuring dark or similarly coloured liquids, which might make the markings on the cylinder less visible. Similarly, selecting cylinders with optimal transparency is recommended to enhance ease of use and accuracy. Clear materials like quality glass or certain plastics allow for precise readings of the liquid level, regardless of its colour, ensuring accurate measurements and facilitating smoother laboratory operations.
Measuring Cylinders at RS: Diverse Options for Every Need
RS offers an extensive range of measuring cylinders specifically tailored to meet the varied demands of modern laboratories.
Our range of measuring cylinders features lightweight and durable PP and PMP cylinders with enhanced, pin-sharp blue-printed graduations, available in capacities ranging from 10ml to 2000ml. Each cylinder boasts a smooth inner contour for efficient pouring and easy cleaning. Many models include a stable hexagonal base with an anti-suction design to prevent sticking to wet surfaces, while others have a flat squat design for increased stability.
Additionally, all our measuring cylinders meet the requisite certifications, ensuring reliability and precision. They are calibrated to the International Organisation for Standardisation (ISO) 6706 and DIN 12681 standards, guaranteeing accurate measurements for plastic cylinders with a graduated volumetric scale. Our reliable RS PRO measuring cylinders come with a certified A-class calibration, further affirming their precision and reliability.
If you need top-quality measuring cylinders, look no further than RS – your trusted partner in laboratory glassware and equipment.
Popular Measuring Cylinder Brands
Hanna Instruments
Hanna Instruments designs and manufactures an array of scientific products for analytical use across various industries to meet the specific analytical needs of each sector.